How to Fix Windows 11 or Windows 10 Automatic Repair Loop
If you have been using Windows Operating System, you should have experience blue screen of death (BSOD) or automatic loop, except you are new to Windows. There are different reason why your computer should go into automatic repair without any warning. This simple fix should assist you on how to get back your computer on track.
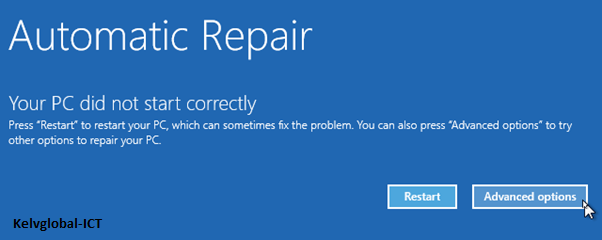
- When your device goes into automatic repair and display the below screen, Select “Advanced Options”
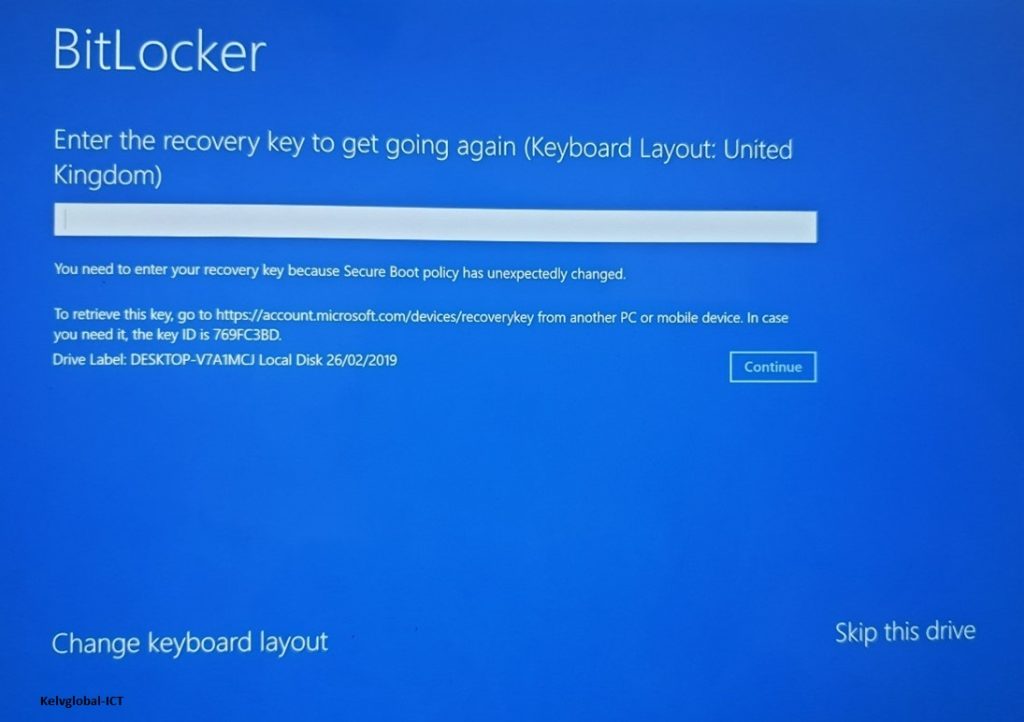
- If your device is configured with Bitlocker, Click on “Skip this drive” on the Bitlocker page.
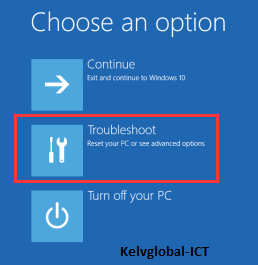
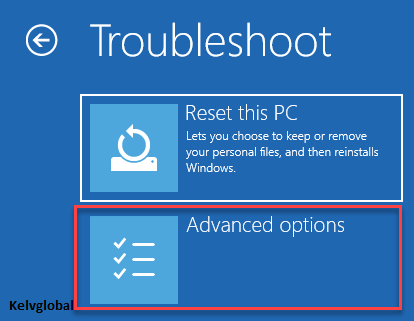
- In the “Choose an option” menu, click “Troubleshoot”
- Under the “Troubleshoot” menu, select the “Advanced options” option.
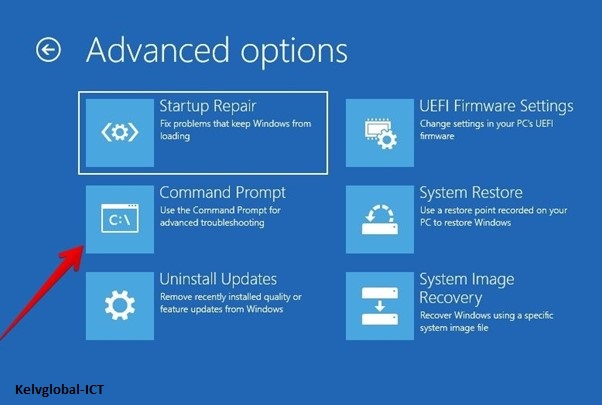
- Select “Command Prompt” in the “Advanced options”.
- Use the following command unlock the drive: manage-bde -unlock c: -recoverypassword xxxxxx-xxxxxx-xxxxxx-xxxxxx-xxxxxx-xxxxxx- xxxxxx-xxxxxx
- Use the following command to suspend protection: manage-bde -protectors -disable c:
- Use the following command to will check your drive for errors using the CHKDSK utility and automatically repair them if possible: chkdsk /r c: If you get following warning please dismount the disk by inserting “Y” followed by enter.

- Reboot after the chkdsk has finished, log in to the windows environment and open an elevated cmd and use following command to resume protection: manage-bde -protectors -enable c: