The Snipping Tool is a simple yet essential utility in Windows that allows users to take screenshots, edit, and annotate them. In recent Windows versions, the Snipping Tool has evolved into “Snip & Sketch” (Microsoft.ScreenSketch), offering enhanced features. If this tool is missing or has been removed from your system, you can reinstall it easily using a PowerShell command.
In this article, I will guide you through using the PowerShell command to install the Snipping Tool (Snip & Sketch) back onto your system.
Prerequisites
- Administrator privileges on the system.
- Windows 10 or Windows 11 installed.
- PowerShell access.
Step-by-Step Guide
Step 1: Open PowerShell as an Administrator
Before running any commands, you must open PowerShell with elevated privileges. Follow these steps:
- Press
Windows + Xon your keyboard or right-click the Start button. - Select Windows PowerShell (Admin) or Terminal (Admin) (depending on your version).
- If prompted by User Account Control (UAC), click Yes to allow PowerShell to make changes.
Step 2: Run the PowerShell Command
Once PowerShell is open with administrative privileges, you can proceed with the command to reinstall Snip & Sketch. Copy and paste the following command into the PowerShell window:
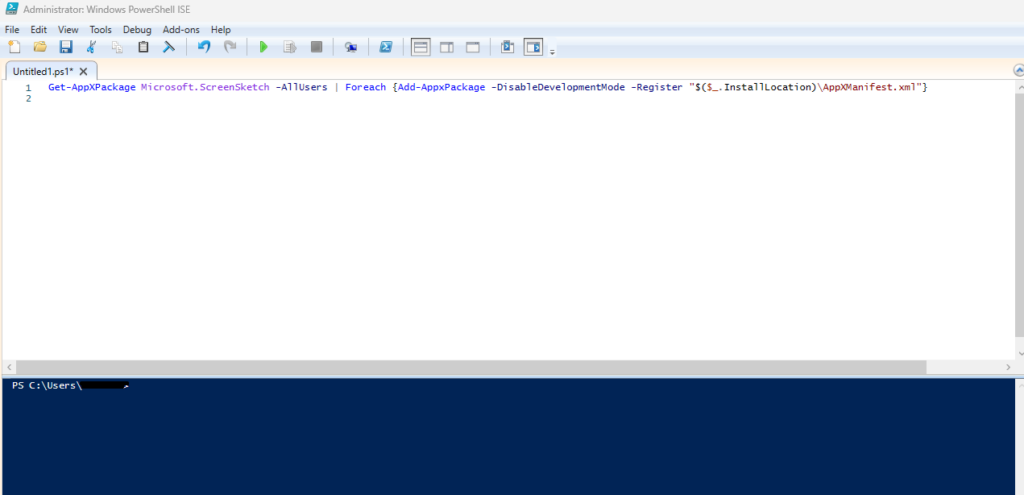
Get-AppXPackage Microsoft.ScreenSketch -AllUsers | Foreach {Add-AppxPackage -DisableDevelopmentMode -Register "$($_.InstallLocation)\AppXManifest.xml"}
Explanation of the Command:
- Get-AppXPackage Microsoft.ScreenSketch -AllUsers: This portion of the command retrieves the package for Snip & Sketch (referred to by its package name,
Microsoft.ScreenSketch) for all users on the system. - Foreach {Add-AppxPackage -DisableDevelopmentMode -Register “$($_.InstallLocation)\AppXManifest.xml”}: This command loops through the result of the
Get-AppXPackagecommand and re-registers the app package using itsAppXManifest.xmlfile, effectively reinstalling it.
Step 3: Verify the Installation
Once the command is executed, the Snip & Sketch tool should be reinstalled on your system. To verify:
- Press the
Windowskey and type Snip & Sketch (or simply Snipping Tool for older versions). - If the app appears in the search results, it means the installation was successful.
- Launch the app and test its functionality by capturing a screenshot.
Troubleshooting
- If the app still doesn’t appear: Ensure that you’re running PowerShell as an administrator. You can also check for any syntax errors in the command when you copy and paste it.
- PowerShell errors: If you encounter errors like
Deployment failedorPackage not found, the package may have been completely removed from your system, or there may be other issues with your Windows Store. In that case, updating Windows or resetting the Microsoft Store may help resolve the issue.
Conclusion
Reinstalling the Snip & Sketch tool through PowerShell is a straightforward process using the provided command. This method ensures you have the essential tool for capturing and editing screenshots without needing to download third-party software. If you encounter any issues, feel free to refer to the troubleshooting tips or seek additional assistance from Microsoft support.